Battle of Cocos
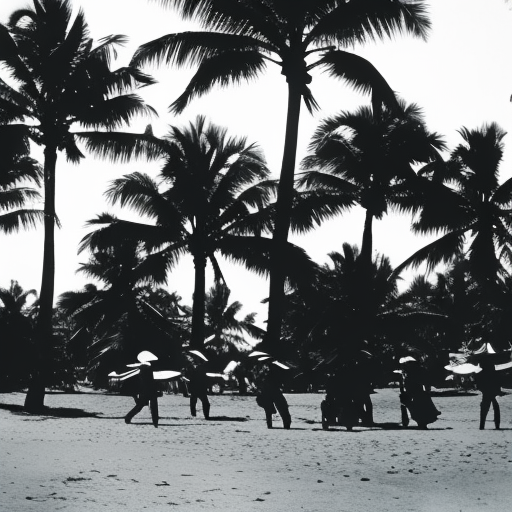
The Battle of Cocos was a naval engagement that took place on November 9, 1914, during World War I. It occurred near the Cocos Islands in the Indian Ocean, between the German light cruiser SMS Emden and the Australian light cruiser HMAS Sydney.
Background:
At the outbreak of World War I, the German East Asia Squadron, led by Vice Admiral Maximilian von Spee, was stationed in the Pacific. The squadron’s most successful ship was the SMS Emden, a light cruiser commanded by Captain Karl von Müller. The Emden had been wreaking havoc on Allied shipping in the Indian Ocean, sinking numerous vessels and disrupting British trade routes.
Engagement:
On November 9, 1914, the Emden arrived at the Cocos Islands to destroy the wireless station there, which was used by the British to communicate with their fleet. Unbeknownst to the Germans, the wireless station had already sent out a distress signal, alerting the nearby HMAS Sydney to their presence.
As the Emden began bombarding the wireless station, the Sydney appeared on the horizon and immediately gave chase. The two ships engaged in a fierce battle, with the Sydney’s superior firepower and speed giving it the advantage. The Emden, heavily outnumbered and outgunned, fought valiantly but was eventually disabled and forced to run aground on North Keeling Island.
Aftermath:
The Battle of Cocos was a decisive victory for the Allies. The Emden was heavily damaged, with over 100 of its crew killed and many more captured. Captain von Müller and a small group of survivors managed to escape in a lifeboat but were eventually captured by the British. The Sydney, on the other hand, suffered minimal damage and no casualties.
The destruction of the Emden was a significant blow to the German East Asia Squadron and boosted Allied morale. It also allowed the British to regain control of the Indian Ocean and secure their trade routes. The battle showcased the effectiveness of wireless communication in naval warfare, as the distress signal sent by the Cocos Islands wireless station played a crucial role in the Sydney’s timely arrival.
Legacy:
The Battle of Cocos is remembered as one of the most important naval engagements of World War I. The bravery and skill displayed by both sides, particularly Captain von Müller and his crew on the Emden, have become legendary. The battle also highlighted the importance of intelligence and communication in modern warfare, as the Emden’s attack on the Cocos Islands was thwarted by the timely transmission of a distress signal.
The wreck of the Emden still lies on North Keeling Island and has become a popular tourist attraction. The battle is commemorated through various memorials and plaques, honoring the bravery of those who fought and the significance of the engagement in the broader context of World War I.
In conclusion, the Battle of Cocos was a pivotal naval engagement that took place during World War I. It resulted in a decisive victory for the Allies, with the German light cruiser SMS Emden being disabled and forced to run aground. The battle showcased the importance of wireless communication and intelligence in modern warfare and had a significant impact on the control of the Indian Ocean.


